


*Do I look cool with unblended highlighter on my face? Of course I do!
Do you have a special day coming up that you'd like to look extra, super fantastic for? If you are like millions of other women across the world, you likely don't have your own personal stylist or makeup artist to make that happen. Plenty of women out there are doing their own hair and makeup even for the most special of days--their very own wedding day. For those extra special events, you'll need to have a toolbox with some thrifty tips and tricks to make you look your very best. I'd like to help! Read on to hear about my inspiration for this blog...


Meet Dawn and Tim (a little on my friendship with Dawn, too! )!
Dawn and I have known each other for years! We went to school together, shared sleepovers, a love for singing and drama, and graduated from the same high school! Over the years, though we didn't live in the same town, we've stayed connected through different social mediums like Facebook. Dawn has always been a sweet and wonderful person and I've been thrilled for her as I have watched this last year's events unfold.
In 2012, Dawn met Tim, and they fell in love after one magical night of karaoke, quickly becoming best friends! ;) Recently, on a walk at Dow Gardens in Michigan, Tim surprised Dawn by proposing to her in front of all the people enjoying the lovely scenery AND all of their collective children, which make for a soon-to-be family of eight! Dawn was over the moon and accepted her future husband's proposal.
As their wedding is quickly approaching, Dawn wrote me a few weeks ago to ask if I had any special makeup tips for her. She is styling herself for the big day. I thought it would be an awesome opportunity to share these tips with everyone, along with Dawn and Tim's inspiring love story. Congrats to the two of you--can't wait to see the wedding pics!
Keep reading below for my "Special Day" makeup tips!
- - - - - - - - - - - - - - - - - - - - - - - - - - - - - - - - - - - - - - - - - - - - - - - - - - - - -
www.ThriftTrick.com's
SPECIAL DAY
Makeup Tips!
FIRST THINGS FIRST: CREATE YOUR SPACE (gather your supplies) and by ALL MEANS...GIVE YOURSELF enough TIME!
I love listening to jazz, swing and lounge when I'm getting ready. It just makes me feel glamorous! So does a "primping" area--so I make sure to get myself a chair, lay out all of my supplies, and get myself a nice cocktail or glass of wine while I get ready. That way I'm not rushing and I have everything I need in front of me! I allow myself TWO FULL HOURS on a special day and you could EASILY devote twice that much to your wedding day, if that is your special makeup event. Here's a typical "pre-makeup" routine for me on a special day:
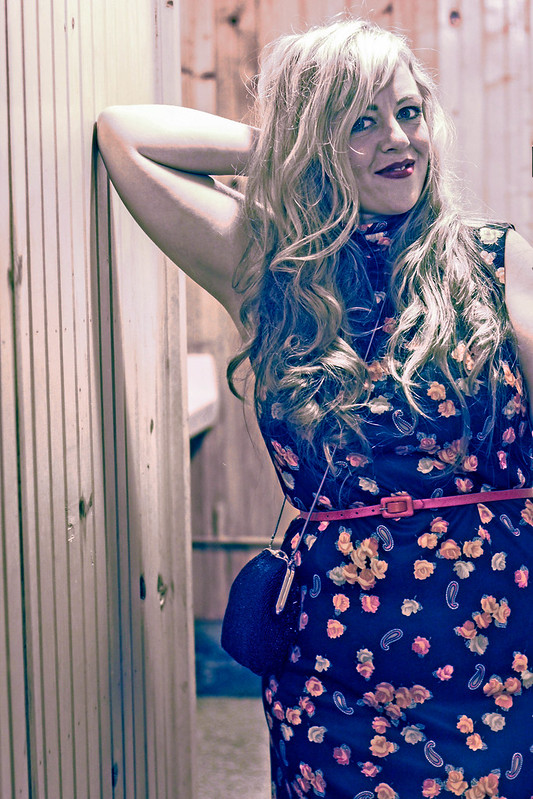
a) Gather supplies, put hair up or in curlers if you are going that route so they set while you do makeup. For these pictures, I had barrel wrapped curls with a curling iron and pinned them to set and (I was going for a vintage look with both my hair and makeup!).
b) Wash face with gentle cleanser and warm water and finish with ice water to close pores. Moisturize. (Don't do any sort of facial on the day of your big event as your skin may be irritated. Masks/treatments should be done two days prior, and I always exfoliate and use a self-tanning cream a few days in a row before a big event as well).
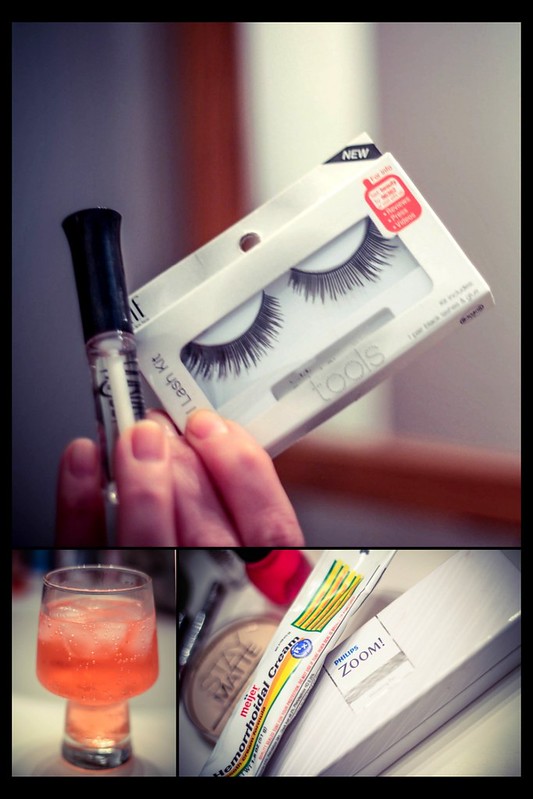
c) Apply hemorrhoid cream to your under eye area if you have bags to reduce their appearance (Yes! It works! Google it!) but be careful; there have been times that using too much cream and letting it sit for too long momentarily irritated my under eye area and it turned slightly red. In my experience, the redness went away in about five minutes after removing the cream entirely.
d) This is a great time to whiten teeth, especially if you have an easy whitening pen like the Zoom pen shown in the picture above! I purchased mine from my dentist's office for about five dollars less.
e) Now is the time to check eyebrows for rogue hairs and take care of any last minute grooming! (But a day or two prior is the best time for plucking. You don't want swollen red brows on your special day!)

f) Though I love BB creams, mineral powder foundation and bronzers, on special occasions I pull out the big guns with a cream foundation in liquid or cake form (as shown above) and a sponge applicator. Be sure to use a clean applicator and use a downward motion. It's a very good idea to check your makeup in natural light (especially if you are a daytime bride!) and don't forget your neck and decolletage.
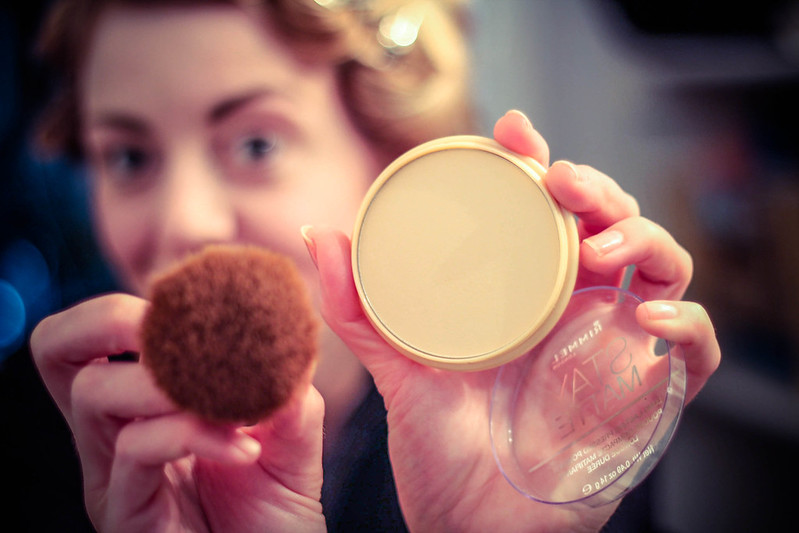
g) I set my foundation with a matte pressed or loose powder (I'm using Rimmel "Stay Matte" and I really like it!) and I personally like using a large, soft Kabuki brush for this application, but any brush will do. So will a powder "puff", but it may be a thicker layer of powder than what you want for your entire face. I highly recommend picking up an inexpensive set of E.L.F. makeup brushes if you don't have any--you won't regret the purchase, and at $12 dollars for the entire thing, there isn' t much risk! I generally wait until AFTER my foundation and powder are applied to then use a concealer for blemishes or the under eye area. You may need to apply concealer again at the very end of your makeup session, particularly if you have a blemish on your cheek, where concealer will naturally attract blush and become a hot mess. Certainly, you will finish with a final powder dusting!
If you like a dewier look, feel free to try baby powder as your "finishing dust". It works! If your complexion is on the greasier side, trust a heavy duty matte powder and make sure to bring it in your travel kit on your big day, along with some oil absorbing matte papers, like these ones from E.L.F.
If you like a dewier look, feel free to try baby powder as your "finishing dust". It works! If your complexion is on the greasier side, trust a heavy duty matte powder and make sure to bring it in your travel kit on your big day, along with some oil absorbing matte papers, like these ones from E.L.F.

h) I darken my brows first with a pencil, one or two shades darker than my natural brow color, but only in a line under my brow to emphasize the diagonal line on my arch. Basically, I use the pencil to define the shape of the line underneath, and I use this as my guide when I fill in the rest with powder. I like this NYX brow kit, and I reviewed it earlier this summer in my Top Ten Beauty Products under Ten Dollars (along with my other favorite thrifty beauty products!). I apply a light highlighting shade beneath to accentuate my brow and serve as a base for the eyeshadow I am applying later on!
A final note on brows: I like to remember what I heard from a cosmetologist once on t.v.: "Eyebrows are sisters, not twins". Don't beat yourself up if you can't get it perfect. Though a nicely shaped brow looks amazing, eyebrows that are fiercely drawn on and overly sculpted scare the piss out of me. I can't be alone in this.
A final note on brows: I like to remember what I heard from a cosmetologist once on t.v.: "Eyebrows are sisters, not twins". Don't beat yourself up if you can't get it perfect. Though a nicely shaped brow looks amazing, eyebrows that are fiercely drawn on and overly sculpted scare the piss out of me. I can't be alone in this.
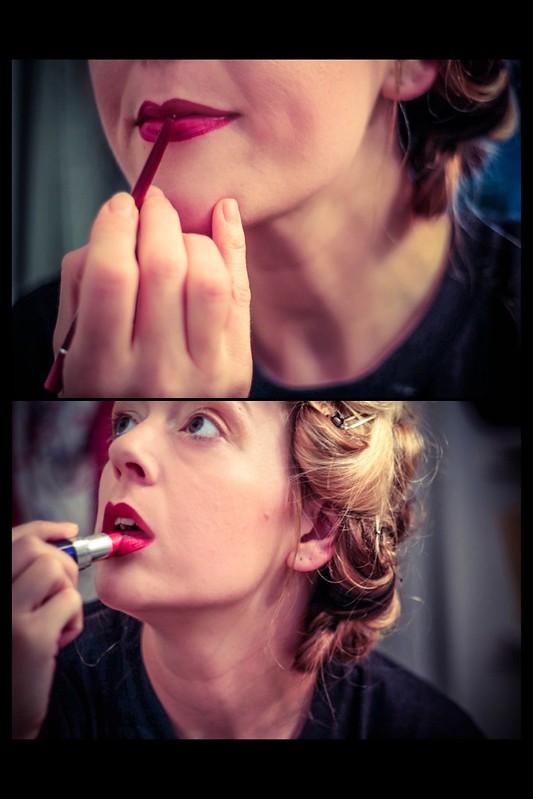
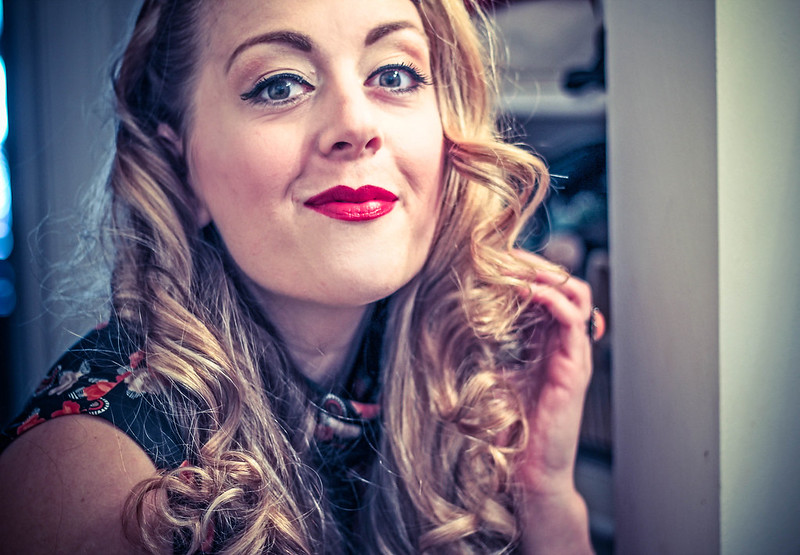
i) I line and fill my lips if I am doing any sort of lip stick or stain. (In case you are wondering, in these images I am using Cover Girl "Really Red" lipstick!). FYI--if you tend to have dry or flaky lips, you can exfoliate your lips daily before the big event with a home-made concoction of brown or white sugar and olive oil in a thick paste. Smear onto lips, rub, and rinse!
Once your lipstick is applied, you can take a brush dipped in loose or baby powder and a sheet of tissue and use it to set your lips. Here's how: hold the tissue carefully against your mouth, and make sure it covers the entire lip area. Take a brush and dip in powder, tap of the excess well with a few shakes, and lightly dust OVER the top of the paper. Then, reapply lipstick once more and blot to truly set. This works very well, but you really need to be careful with your tissue as you hold it as not to smear. You can also dust your lips BEFORE you line and fill for somewhat of the same effect!
Do you have a tendency to get lipstick on your teeth? After applying your lipstick, put your finger into your mouth and then pull it out (I know, I know). Your finger will take all of the excess lipstick off your mouth that would otherwise end up on your grill!
j) Will you wear false eyelashes? I am wearing them in the image below (E.L.F. brand, of course)! If you ARE going to wear falsies, I expressly recommend purchasing a DECENT eyelash glue--not like the ones that generally come with the package of lashes. I, for one, am very CRAPPY at putting these things on, but the Andrea Mod Lash brush-on adhesive I bought made it SO much easier. Even when, at first, I literally stuck the brush directly INTO my eyeball and was afraid I'd probably initiated a blinding chemical burn, it still proved to be a painless process. (And my eye didn't get hurt or sting! Thank goodness.)
Do not be afraid to trim your false eyelashes if you feel like RuPaul when you apply them. I did! Take a scissor to them and trip them down a touch, or even consider chopping them into pieces and applying them where you like.
I like to apply my lashes AFTER my eye shadow but before my liner and mascara.
j) EYESHADOW: First things first; make sure your eyelids are primed with foundation and powder, or an awesome eyelid primer. If you're looking for a very affordable product, I suggest E.L.F. mineral eye-shadow primer! For your special day, try using shading techniques for adding a little depth and dimension to your shadow--it's easy! Check out these image tutorials--you can even do what I do--print, laminate, and stick right in your makeup drawer for future use! If you have an elaborate eyeshadow application planned, consider doing this FIRST, so that your foundation and the rest of your face isn't covered in "overspray" from your eyes! If you DO get eyeshadow powder everywhere under your eyes or on your face, don't wipe away with a tissue--instead, brush away with a large makeup brush and apply more powder.
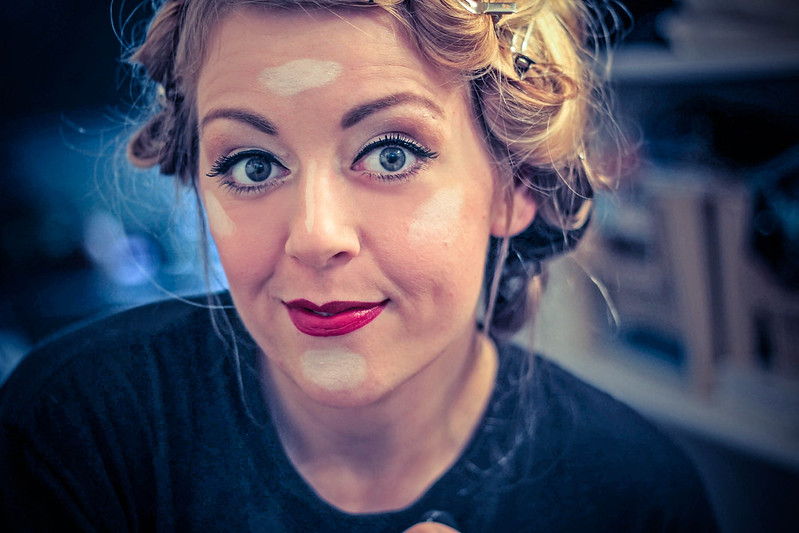
*See above pic for my highlighter placement, mentioned below!
k) Let's talk mascara...My favorite mascara is L'Oreal Voluminous Million Dollar Lashes. No matter which brand you use, though, there are a few tips that you can use help your lashes be the best they can be!
>>>>>Wash your applicator. Run in in warm water with a little hand soap or shampoo, rinse and dry well, and while it is still warm, put it back in the tube and coat it well. It will work sooo much better!
>>>>>Curl your lashes with a lash curler. You can also run your lash curler under hot water to add a little heat to your curl for extra power.
>>>>>Wiggle it. Really work hard to wiggle applicator back and forth horizontally as you coat upper lashes for great coverage.
>>>>>Mix it up! You can mix brands of mascara--apply one coat of two different brands BUT...apply double coats of mascara only while the first coat is wet, or suffer the curse of the clump!
l) Blush for your face shape: Have you considered blush placement for your specific face shape? I have an ovalish, round face, and proper placement of blush really accents my cheekbones and makes my face seem so much more slim. I use Mary Kay mineral powder blush, but honestly, many different products have seemed about the same to me over the years. Similarly, if you find yourself in a pinch, a flattering lip shade will blend nicely into your cheeks and look dewy. It just won't have as much staying power as powder.
m) Bronzer and highlighter: I save these steps for the very end. You can see my highlighter placement in the above pic! I like to use a jumbo white eyeliner highlighting pencil because it makes things SOOO easy! You can pick them up very inexpensively. I use this L.A. Colors brand. YES, it is an eyeliner, but I use it for facial highlighter because it's so easy to draw on and blend...and also because I'M A REBEL, BABY! Basically, you place highlighter along your T-zone and upper cheekbones, or right below the eyes. I found this graphic for a different product that pretty much sums it up!
Don't forget that you can also use the highlighter pencil or a lighter lip color or gloss in the center of your lower lip to create an illusion of a larger, more supple lip.
I finish up my highlighting and ENTIRE makeup application by dusting my face once more with pressed or loose powder, and then very lightly applying bronzer with a large brush over my cheekbones, and T-zone.
m) A final note for wedding makeup: A general rule of thumb is to stay away from darker colors for your big day. Especially if you are a daytime bride! Use shimmer and colors that illuminate your eyes and face, and consider skipping mascara on your bottom lashes, which will make your eyes appear bigger, but also help with some of the "Tammy Faye" mascara drips that might appear if you get a little emotional on your wedding day. ;)
I'm including some great resources below that you can reference for even more great makeup application tips. See you soon!
- - - - - - - - - - - - - - - - - - - - - - - - - - - - - - - - - - - - - - - - - - - - - - - - - - - - -


No comments:
Post a Comment
Leave me a comment or question--I'd love to hear from you!